Before you go into creating your passive income hub, let me explain what a passive income is.
Contents
What Is Passive Income?
Passive Income is an income you earn with little to no effort. You earn money without being actively involved.
You can earn a full time income from passive income.
But passive income is NOT a get rich quick scheme. You need to put in some work upfront and then you start earning the rewards.
What is a passive income hub?
A passive income hub is a place where you earn your passive income.
This can either be a blog or website that you own.
My passive income hub is my website loismelikam.com
why do you need a passive income hub
If you want to be earning CONSISTENT passive income, you need a:
self hosted website that belongs to you.
why self hosted website?
- A self-hosted website means you own the website and you don’t need to worry about loosing the website. Other platforms like blogspot.com and wix.com, can decide to shut down one day and you will loose your site.
- A self – hosted website can be easily monetized. But other free website platforms are limited and you cannot make so much money.
So if you want to earn CONSISTENT passive income, then you need your own self-hosted website.
how to create your passive income hub
Creating your own passive income hub is not complicated. It can actually be done in under an hour.
But before you go into creating your own website, you need to get clear on one important thing.
And that’s being clear on what paid services and or products your website will offer. That is how you will monetize your website.
Many online entrepreneurs get excited at the thought of earning passive income, and go straight into creating their website and halfway through they get discouraged because they failed to define what products or services their website will offer.
But don’t dwell so much on this step, because many people’s businesses change over time and it’s totally normal.
But you need to start from somewhere in order to maximize your website and start earning passive income.
When choosing what to offer on your website for money, you can start with any of these three options:
- Services: Offering services on your website as a virtual assistant is one of the easiest ways to make money and earn consistent passive income as well. You can offer services of a skill that you’re very good at. Such as Graphic design, Social media management, Copywriting, Coaching and Consulting.
- Digital Products: You can sell digital products on your website such as Ebooks, Online courses, online class, templates, workbooks, printables, planners, journals etc.
- Physical products: You can sell physical products such as cloths, art work, jewelries, etc.
- Advertisement
- Sponsored posts
If you’re new to online business and want to earn passive income, then selling a service is the easiest to start. More on how to become a virtual assistant in this blog post that I created.
A Quick Tip to keep in mind is that whatever services you’re selling, it need’s to solve a problem for someone.
Now that you have a plan to decide what services or products to sell on your website, it’s time to build your passive income hub so that you can start earning passive income and not sit on the fence again.
I am going to show you how to get your own self-hosted website with bluehost. So that you can have more control over it and more opportunities to monetize your website.
I recommend bluehost because their hosting plans includes:
- A free domain name for your first year. A domain name typically cost $10-15 yearly, but when you purchase your hosting from bluehost, you get a free domain name for your first year. Your domain name is the name of your website. You can use your personal name as your domain name and choose the .com, or .org extension as they are the most popular and most people visiting your website will automatically assume it’s a .com.
- Free SSL Certificate: An SSL Certificate adds the little lock next to your website URL in the address bar. An SSL Certificate (Secure Sockets Layer), also called a Digital Certificate, creates a secure link between a website and a visitor’s browser. By ensuring that all data passed between the two remains private and secure, SSL encryption prevents hackers from stealing private information such as credit card numbers, names and addresses.If you sell products or services on your website and accept credit cards online, you need an SSL Certificate for website security.
- One Click WordPress Installation: Building a website is easy if you don’t have to mess around with codes. And with bluehost it’s just a one click, and you have wordpress installed and ready to build your website.
- 24/7 support: If you have a question, their customer support will help you.
So, let’s get started.
How To set up hosting
To get your hosting account, click here and be taken to bluehost.
You will see this page, click on “Get Started” button.
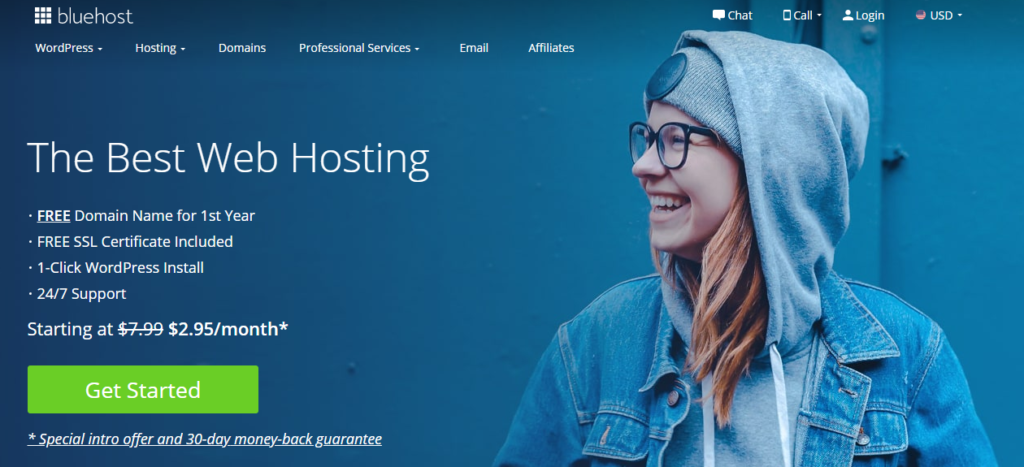
Then choose one of bluehost packages
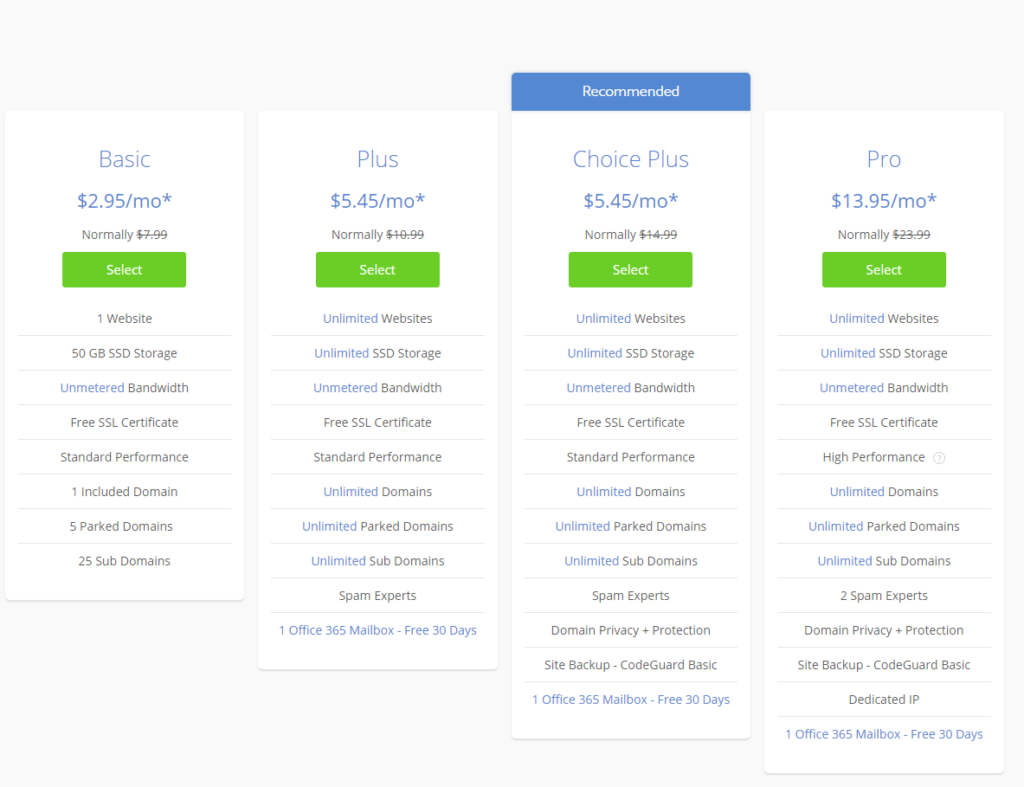
I recommend the “basic plan”. It is the cheapest option and also has all the features you need to to earn passive income.
But you can choose any other plan.
Click, “Select” on your choosen plan and next you’ll set up your domain.
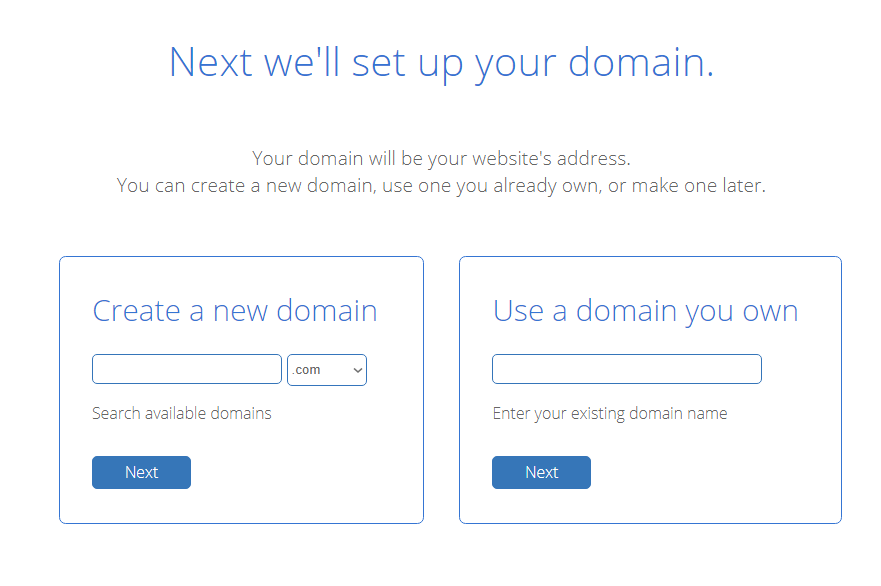
If you don’t own any domain name yet, you can create a new domain by entering your domain name in the left hand side.
Use namecheckr to verify that your domain name is available and also claim your name across all social media accounts.
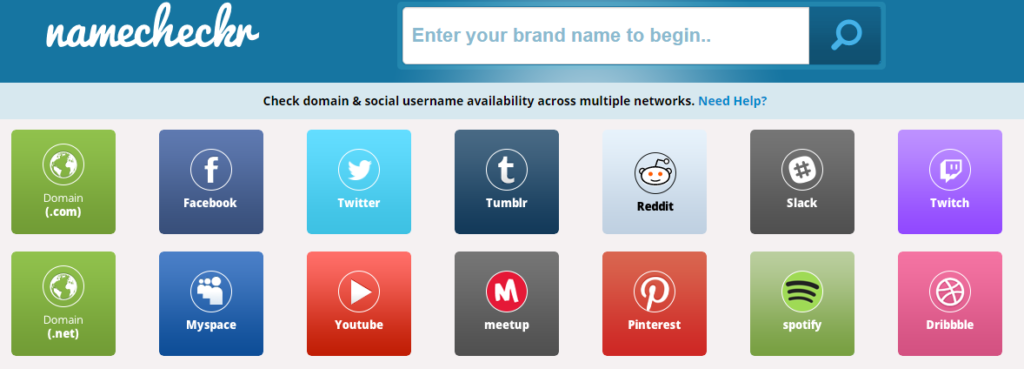
When you put your domain name, it will show you what domain name extensions are (.com, .org, .net) and social media platforms the name is available on.
But if you already have a registered domain name, then enter it on the right hand side and click “next”.
You will be taken to this page:
Create Your Account
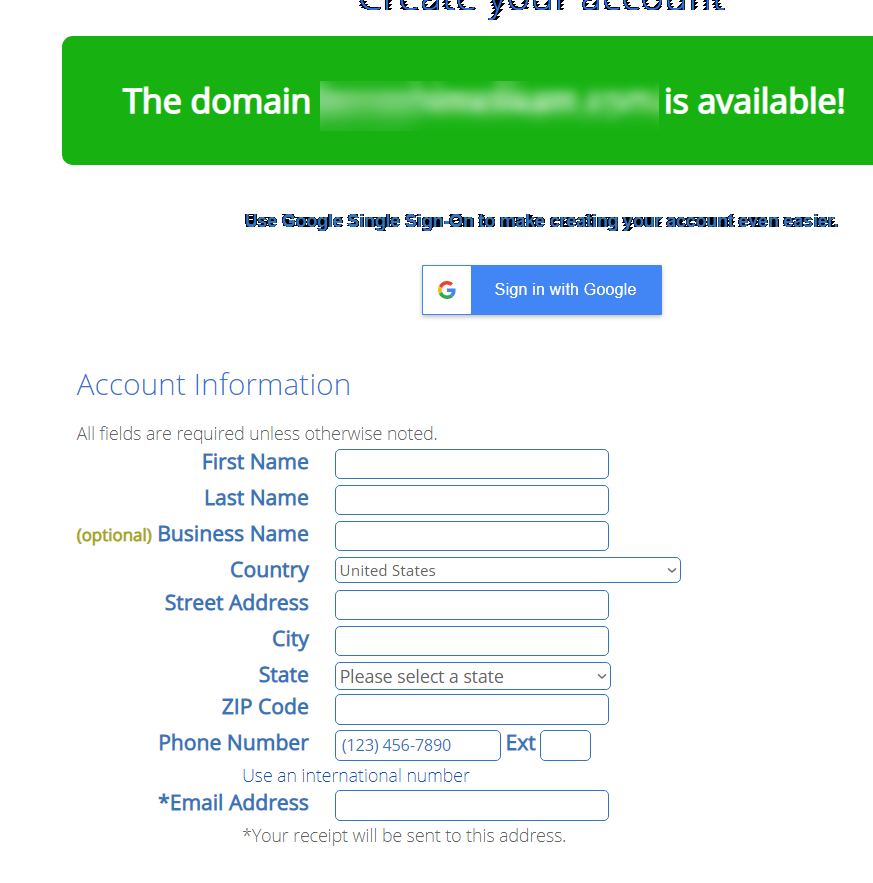
Fill in your information.
For the package information, bluehost sets your hosting plan to 3years and it’s the cheapest option. When you choose the three years hosting plan it is cheaper and you don’t get to worry about hosting for the first few years of your online business, and you focus on earning passive income.
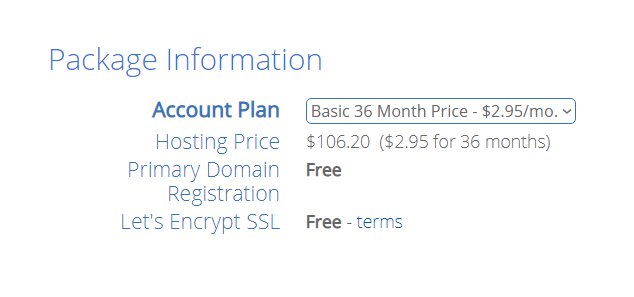
But you can choose a shorter plan.
Next you select your package extras.
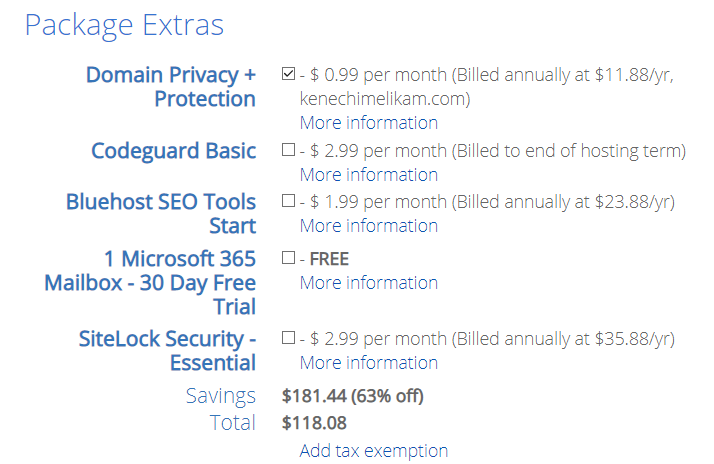
Bluehost automatically selects some of these package extras. But you can deselect them but make sure that you select the “domain privacy protection”.
It cost’s $11.88 a year. The Domain Privacy Protection is a service Bluehost offers that will hide your personal contact information that you used in registering your domain like your phone number and email address from the public WHOIS database and replace it with generic Bluehost contact information instead. You are still the owner of the domain name, but your personal contact information is kept safe.
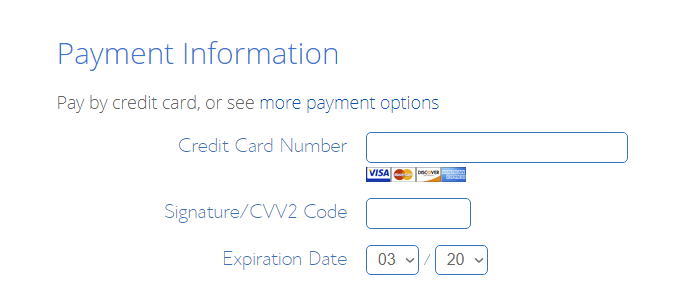
Next, enter your payment information
Scroll down and tick the box to agree to the terms and conditions and then click on submit.
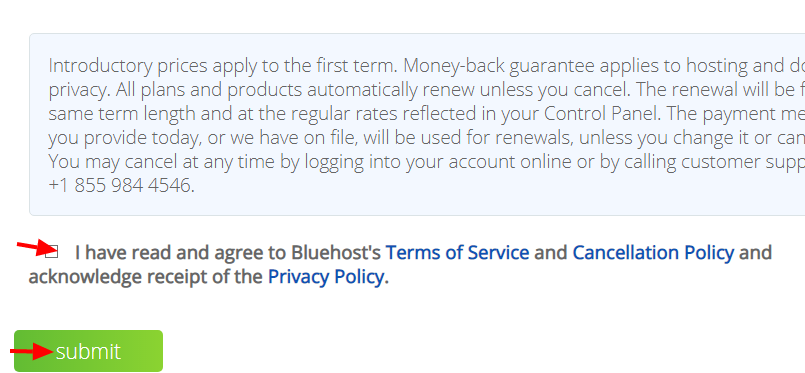
Click Submit.
Once you pay for your hosting, you will see this screen.
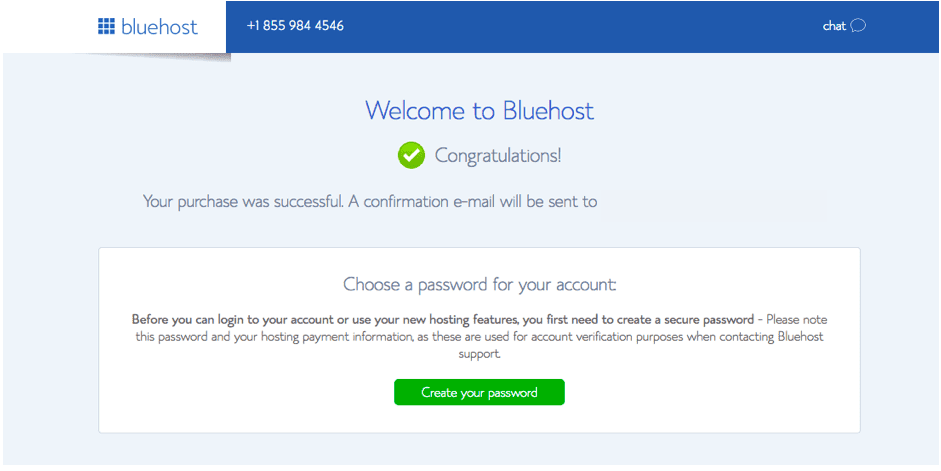
Check your email, bluehost will send you a welcome email confirming your account and FTP information.

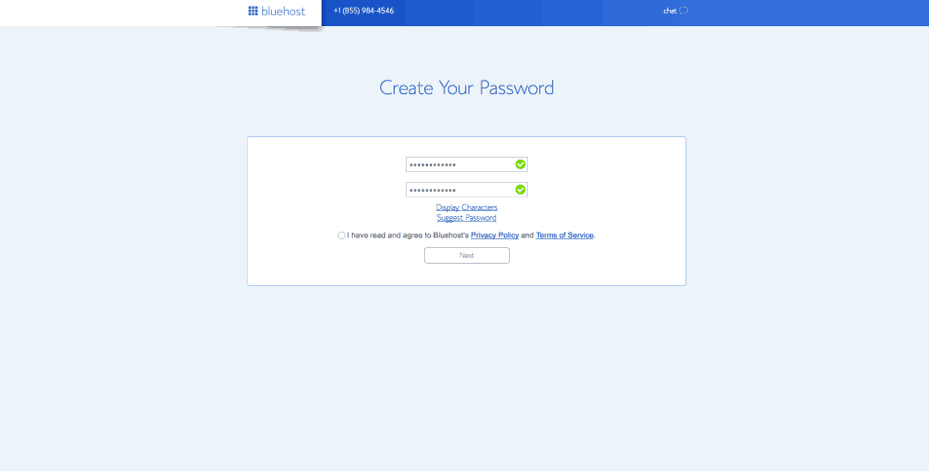
Next, create a password for your account. Make sure you follow the guidelines for creating a password and also write it down somewhere, as you will need it to login.
Connect WordPress And Bluehost Together for Free
With bluehost, after your hosting account is created, WordPress will install automatically.
Bluehost makes it easy for you to create a wordpress site for your passive income hub especially if you’re not tech savvy.
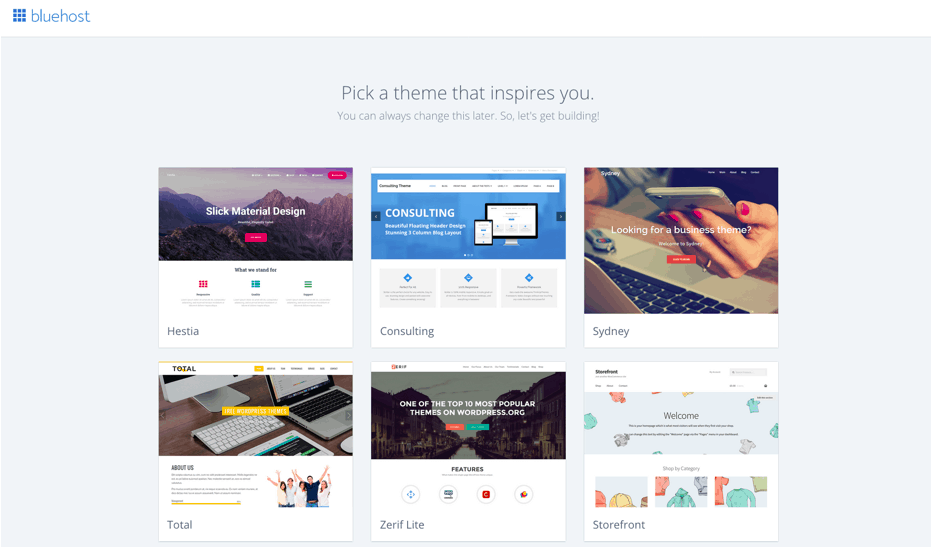
Start by picking a theme. Bluehost offers some free theme from the wordpress.org.
Note, you can always change your theme later, which I will show you how to do that in this blog post.
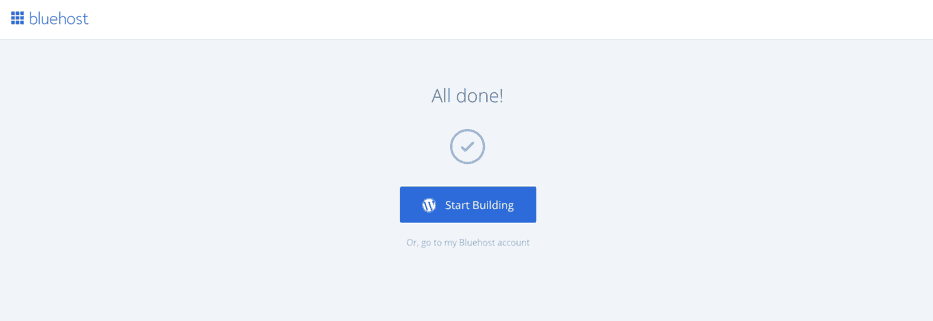
For now, pick any of the free theme, and get started. And everything will be installed for you.
Click on the “start building” button lets start building your website.
Next, choose if your website is for business or personal. But since your goal is to build a passive income hub and make money, choose business
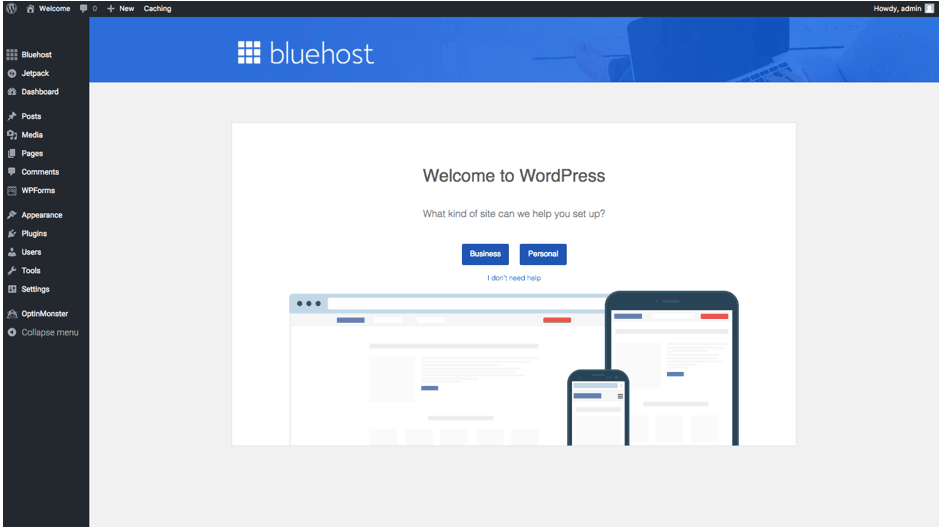
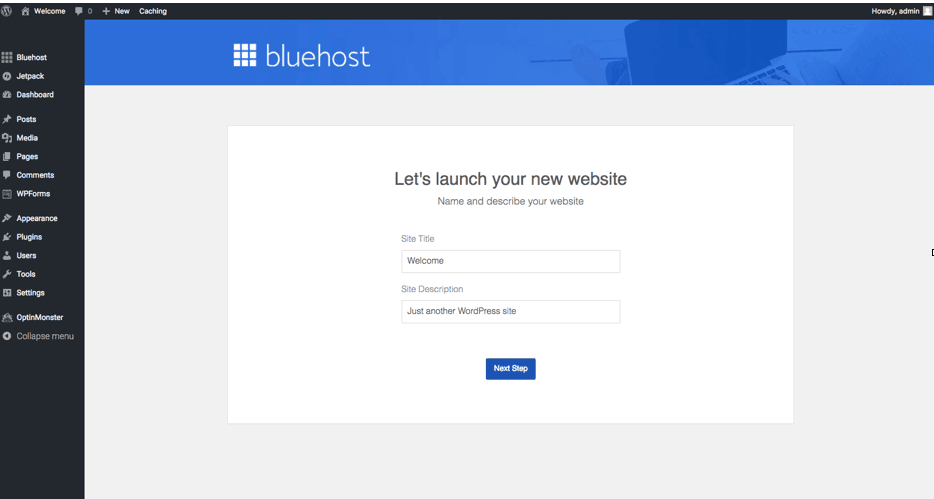
Here, you will see an overview of WordPress and bluehost integration.
Next, enter your site title and tagline. For example my site title is currently: Freelance writer, blogger and website creator. And my description is “Learn how to create your own website and earn passive income consistently”.
Note, you can always change your site title and Tagline.
If you’re struggling to give your website a title and description, leave it blank as you can always fill it in later.
How To change Your Site Title and Tagline
From your wordpress dashboard, go to settings >> General and enter the title and tagline
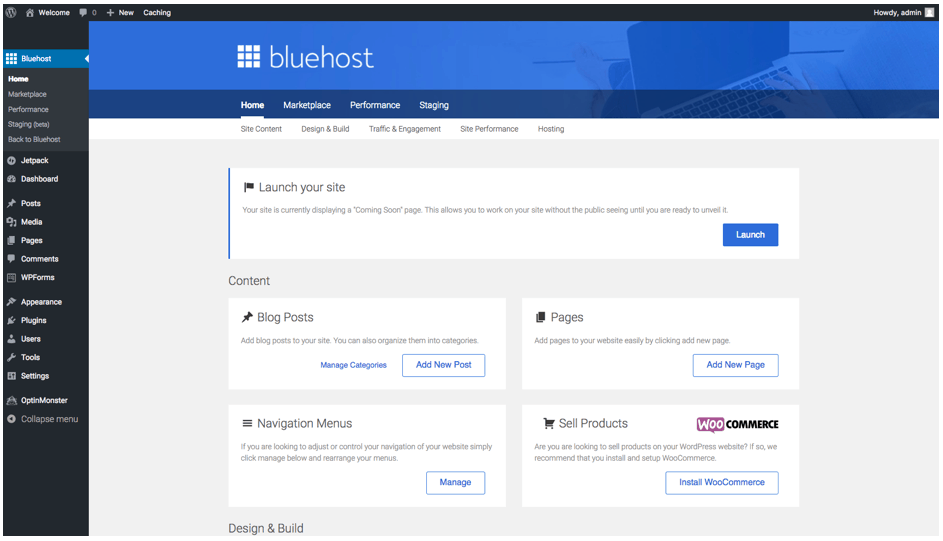
Below is what your bluehost control panel will look like.
From here you can login to your wordpress website. Just click the “log in to wordpress”
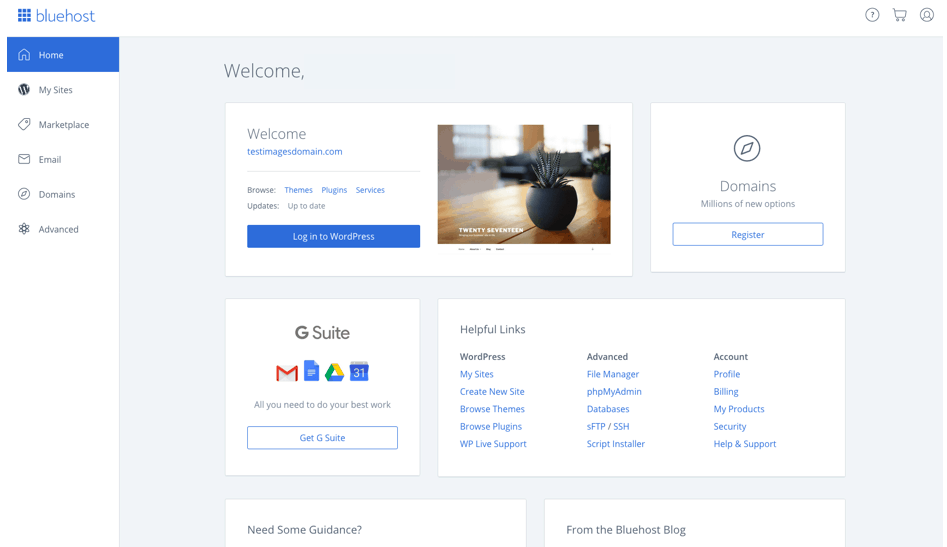
Whoop, that’s it you have officially created your wordpress site.
Keep reading, to know what to do next.
An overview about WordPress
WordPress is a content management system. It’s robust and you can do so much with your WordPress site. Just to mention a few things like:
- create and sell your online courses on WordPress
- Set up an online store
- Sell your digital products
- Create any type of website
But you need to understand the back end of WordPress because that is where you will be working from to earn passive income.
Below I will show the most important parts of a wordpress dashboard especially for beginners
appearance
Appearance is where you can change the entire look of your website.
when you click on appearance, you have a few options like:
- Theme: Your website theme determines if your website will look beautiful or unappealing.
- Customize: The customize option helps you make changes to your website and at the same time you can see what your website looks like from a visitors angle.
- Widgets: Widgets are added in some locations on your website to enable you add more functionalities..
- Menus: Menus makes your site easier to navigate by adding links to the different parts of your website.
Posts
If you click on “posts”, it will show you all the blog post that you have whether draft or published. When you click on “add new” you can create and publish a new blog post
Pages
The page section, houses all your wordpress pages, and to add a new page, you click on “add new”.
Media
The media keeps all your images, videos and any other media file that you upload on your wordpress site. To add a new media, click on “add new”.
INSTALL PLUGINS
So now that you have understood how to use your wordpress dashboard, go ahead an install these necessary plugins on your website.
There are more than 50,000 free plugins available in the wordpress directory and thousands of premium plugins as well. These plugins improves your site’s functionality. You can do various customization with these plugins.
You can add more widgets on your blog, add contact forms, and optimize your entire site for SEO with the use of plugins.
Just know there’s a plugin for everything.
how To Install A WordPress Plugin
To upload a plugin in wordpress: Go to your wordpress dashboard click plugins >> add new >> type in the name of the plugin in the search box, click install and then activate.
Here Are Five Necessary Plugins You Should Start Using From Day 1:
WP Forms
Once your website is up and running, you need a contact form to allow your readers or potential clients to contact you. Whether your website is new, it does not matter because there will be someone who will need to contact you. Always remember to treat your website as a business.
You can easily create a contact form for free using WP Forms, a wordpress contact form plugin.
Follow this step by step guide, on how to create a contact form using WP Forms and create your own form.
Yoast SEO (For Optimizing Your Posts For SEO)
Yoast helps you with everything you need for optimizing your blog posts, and it’s also free. So download the Yoast SEO Plugin
MonsterInsights (For Google Analytics)
As a website owner, you need to track your website traffic, so that you can understand your readers interests, and behavior. And to achieve that you simply create a google analytics account(it’s free) and link it to your blog. Google analytics can be a bit confusing for a beginner, but with MonsterInsights plugin is created solely for you to understand your stats. It displays google analytics directly on your wordpress dashboard in an easy way for you to understand. So after creating your google analytics account, download the MonsterInsights Plugin.
Follow this guide, for how to properly setup google analytics in wordpress
Social Warfare
There are lots of social sharing plugins out but I recommend and also use Social Warfare because its’s simple, easy to setup and effective. Just go to your wordpress dashboard, click on Plugins, >> add new, in the search box, enter the name “social warfare” click install, then activate and then configure using your social accounts username.
UpdraftsPlus For (Back Up)
All sites across the internet have a high risk of getting hacked. Which means there’s a possibility of loosing all your entire site. And to avoid that, you need to install and use a reliable plugin.
Updraftsplus is the best plugin that is easy to setup and it’s free. On your wordpress dashboard, go to plugins >> click add new, in the search box, type in updraftplus, then install and activate.
settings
change the permalink structure
The permalink structure of your website is basically the format of your blog posts URL.
Change your website permalink structure to the “post name” structure.
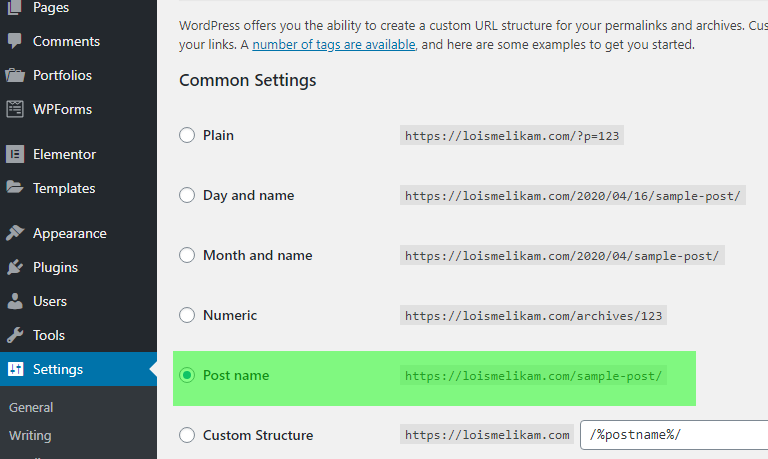
Take a look at mine in the image below.
Now its time to install a wordpress theme on your website.
how to install a WordPress theme
The function of the theme is that it controls the general look and appearance of your blog. It can also affect the SEO of your blog. So before you choose a theme, make sure you check the theme ratings, reviews, and downloads.
WordPress also has premium themes which you can easily purchase and use.
To install a free WordPress theme… From your WordPress dashboard, navigate to Appearance, Theme >> Add new. In the search bar type Astra.
The Astra theme will pop up, click “Install”, after installing, click ” Activate “.
But if you don’t want the Astra theme, choose and install any theme of your choice from the available WordPress themes and start building your passive income hub.

I personally use and recommend the astra theme. It’s a free them and also have the paid version. But as a beginner it can be confusing choosing a free theme that will not hurt the SEO of your website and also serve you better.
To customize the astra theme, you can google how to customize the astra theme on youtube, and you will find great videos.
But if you want to us a premium which is also fantastic even as a beginner, check out bluchic, they have great themes that you will love.
Sharing blog post is an essential part of making passive income from your website.
Blog posts can grow your readers interests, and also earn more income.
To create your first blog post, click on “Posts” Click on “Add New”.
Type the title of your blog post in the first box.
Write your blog post below the title.
After writing your blog post, click on the “publish” button at the top right corner.
Monetize Your Website
You can start monetizing your website with Google adsense or media.net. They are basic ad companies.
But you need to publish a few blog posts, share them on your social media accounts like facebook and pinterest so that you can get some pageviews.
To get traffic, go to pinterest and create a business account and start sharing your blog posts there.
I have a detailed blog post on how to create a pinterest business account to drive traffic to your website, even if you have 0 pageviews.
You can also find brands to work with on ultimate bundles as an affiliate.
After following this blog post, you should have your own awesome website that looks great and ready to make passive income.


I created my first website 10 years ago and it is so much easier now to create one. It is also so affordable to start one now as well. Great tips!