How to start a blog and make money blogging? This is a step by step guide for beginners to starting a blog.
It includes everything you need to know and also how to monetize your blog from day one. With this guide, you’ll be able to start your own blog confidently, promote affiliate links, sell your own products, and much more.
Starting a Blog is one of the easiest online businesses you can start and make substantial income, so don’t sit on the fence again, come join the community, it’s fun. You don’t need to be tech savvy. I will walk you through the entire process and your blog should be up and running just like mine.
Contents
How To Start A Blog And Make Money Blogging: The Ultimate Guide
I will walk you through the entire process of starting a blog and monetizing it, with a self hosted wordpress.org website.
- How to start a blog?
- How to start a blog and make money?
- How do you make money blogging?
How To Start A Blog
If you’re new to the world of blogging, welcome. Blogging is fun and you’re going to excel at it.
I started this blog to express my creative style and within a few months I was making hundreds of dollars. I still remember when I received my first email notification for an affiliate sale that I had just made, I was legit excited.
I was like wow so this blogging thing is real, it’s not fluff and I can actually make money blogging. After that first sale, it looked like the universe was smiling down on me as I kept receiving more sales.
So sit back and let me show you how to start a blog and make money blogging
How To Set Up A Self-Hosted WordPress Blog And Make Money Blogging
The first step in starting a blog, is choosing your web host.
When choosing your web host, you have many options to choose from. But Bluehost is the most recommended hosting for beginners.
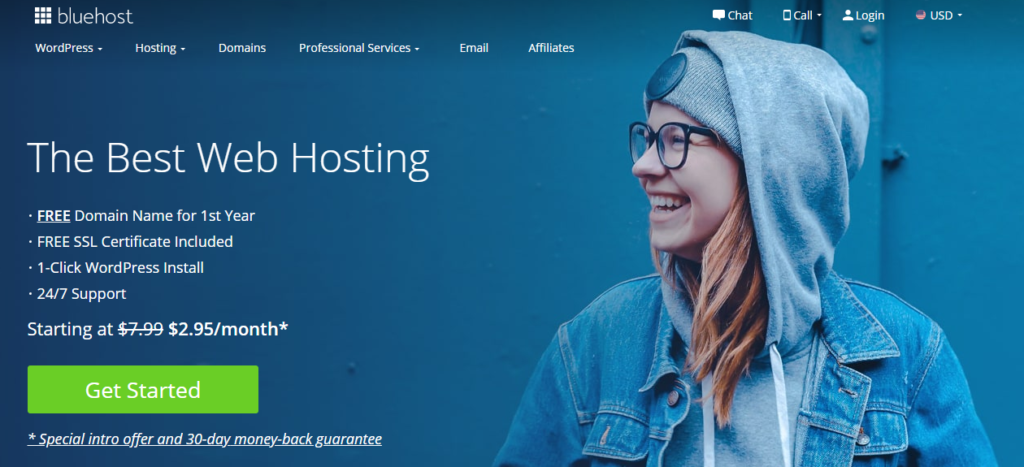
What is The Best Web Host?
If you’re a beginner, I recommend Bluehost as the best option and it is also the most affordable too.
Bluehost makes it super easy to set up a website in minutes and so it’s a great choice for beginners and it’s cheap.
You can use this link to get 60% off Bluehost web hosting right now!
Here’s What We Are Going To Do, To Start A Blog From Scratch
- How To Start A Blog
- Beginner Blogger Basics
- Set Up A Self hosted website with hosting and domain registration on Bluehost.
- Secure installation of SSL Certificate
- Change the permalink structure
- Set Up Google Analytics
- Set Up Google Search Console
- Submit sitemap to Google
- Install a theme
- Set up website security
- Install Plugins
- Create content
- Start your blog email list
- Create a social media campaign
- Make money from your blog.
How To Start A Blog: Beginner Blogger Basics
As a new blogger first understand that it’s normal for you to be overwhelmed at the beginning.
Because there are so many things to learn especially if you want to make money from your blog but don’t give up!
Commit to working on your blog daily, 30-1hour or even more, choose never to stop learning and I also here to help you!
I am going to show you how to start a blog that you can monetize and it will only take some minutes.
To start a blog, the first step you need is to self host.
What is Self Hosting?
Self-hosting simply means to have your own domain name and you pay hosting companies like Bluehost to allow your site be live on the internet and to be seen by others.
So when you pay for this it means you own your blog and the content and this is very important if you want to make money from your blog.
It also means that you are not using free host like blogger.
Why Choose A Self-Host?
When you pay for your domain and hosting, it means that you own your blog and can monetize your blog. This means that you can run ads, join affiliate programs, sell your own products and work with brands as well.
Free sites limits the functionality of your site and you can hardly earn an income.
And when you use free sites, you don’t own your content because they can decide to take down everything in one day and you loose all your content and years and months of hardwork will be gone without any notice.
For example, so when I started my blog, I purchased my domain name and hosting, and within a few months, I made about $800. But if I did not self host my site, I would not have made any money from site and I would have been frustrated.
This is why I recommend that anyone who wants to make money from their blog, should self host their blog with a reliable company like Bluehost and interestingly Bluehost will also give you a free domain name for your first year.
I will show you exactly how to do that now, so that your blog can be up and running in minutes.
How To Set Up Hosting And Register A Domain Name
First, you will need to choose your plan and register your domain name.
Bluehost also gives a free domain name for your first year. This means that you don’t pay for your domain name.
So simply go to Bluehost and click on the “Get Started Now” button.
Next you choose your plan.
You can choose from any of the four plans. As a beginner, you can start with the “Basic” plan.
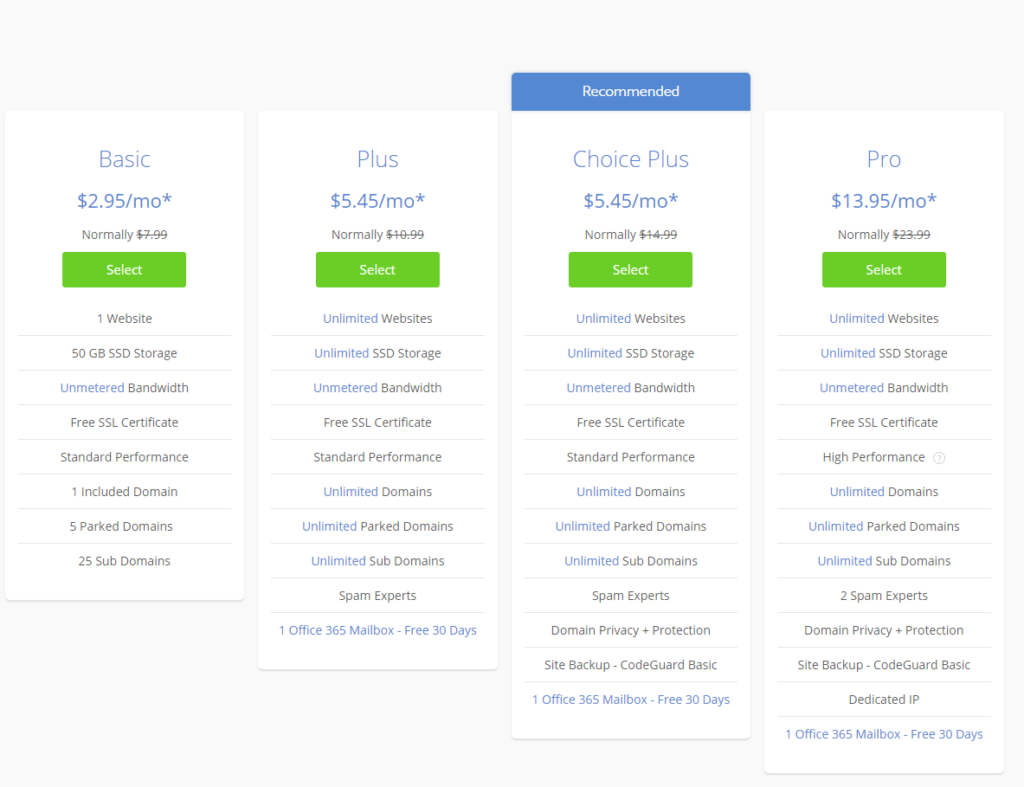
Remember that you have a 60% discount and you can lock in 3years of hosting with this discount and you don’t need to worry about paying for hosting till after 3 years.
Next, you register your domain name. Enter your domain name and Bluehost will tell you if it’s available.
If you already have a domain name registered elsewhere, you can add it here.

Next, you will fill in your contact information.

You will pay for your hosting all at once and not month to month.
So lock in the promo rate, by registering for a long term.
Under the Package Extras, make sure you select the domain privacy. Domain privacy keeps all your details confidential and makes sure no one has access to your personal details. So this functionality is important.
But you can uncheck others, as they are not all that necessary.

Add your card details and click to agree to terms and then click the “Submit”button.
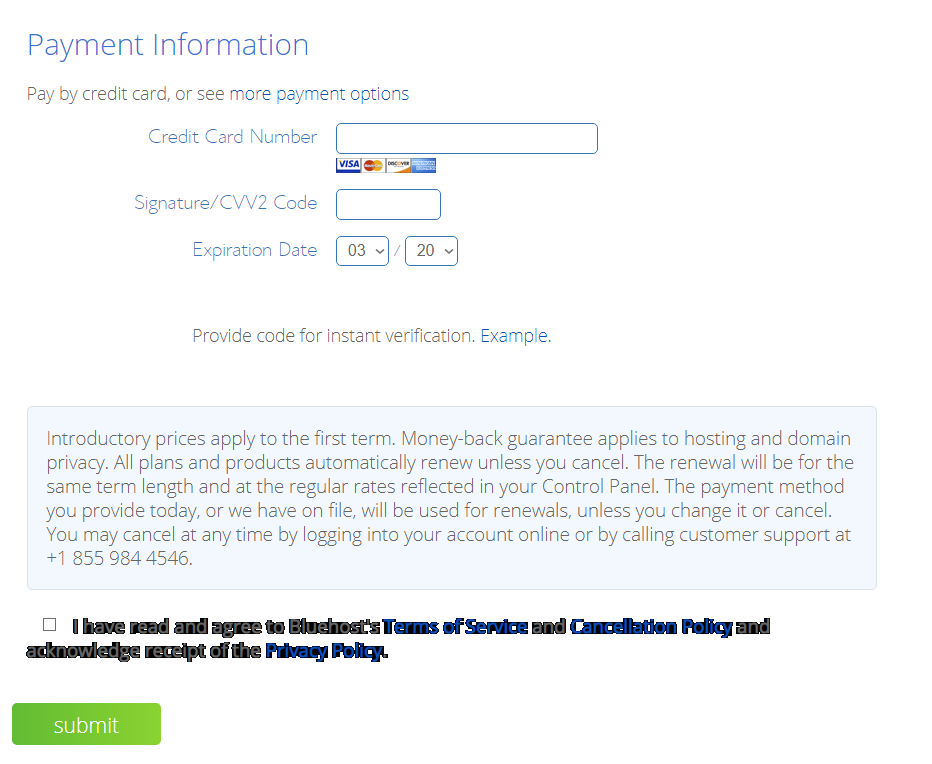
Now you will be taken to the “Sign Up Successful page”, where you can create a password.
This will be your login details to access your website, so make sure you remember your password.
Make it a strong password as well.
So congratulations you have come this far.
when you purchase your hosting from Bluehost, it automatically installs wordpress for you.

4. INSTALL A WORDPRESS THEME
Themes control the appearance of your blog.
They make your blog look beautiful or unappealing.
So choose the right theme for your blog.
WordPress has both free and premium themes.
Some free themes are poorly coded and can affect the search engine optimization of your website. Before you use any free theme, make sure to check the ratings and also if it has thousands of downloads.
I have personally used the Astra theme and I love it. The Astra theme is lightweight, simple, built with SEO and can be easily customized.
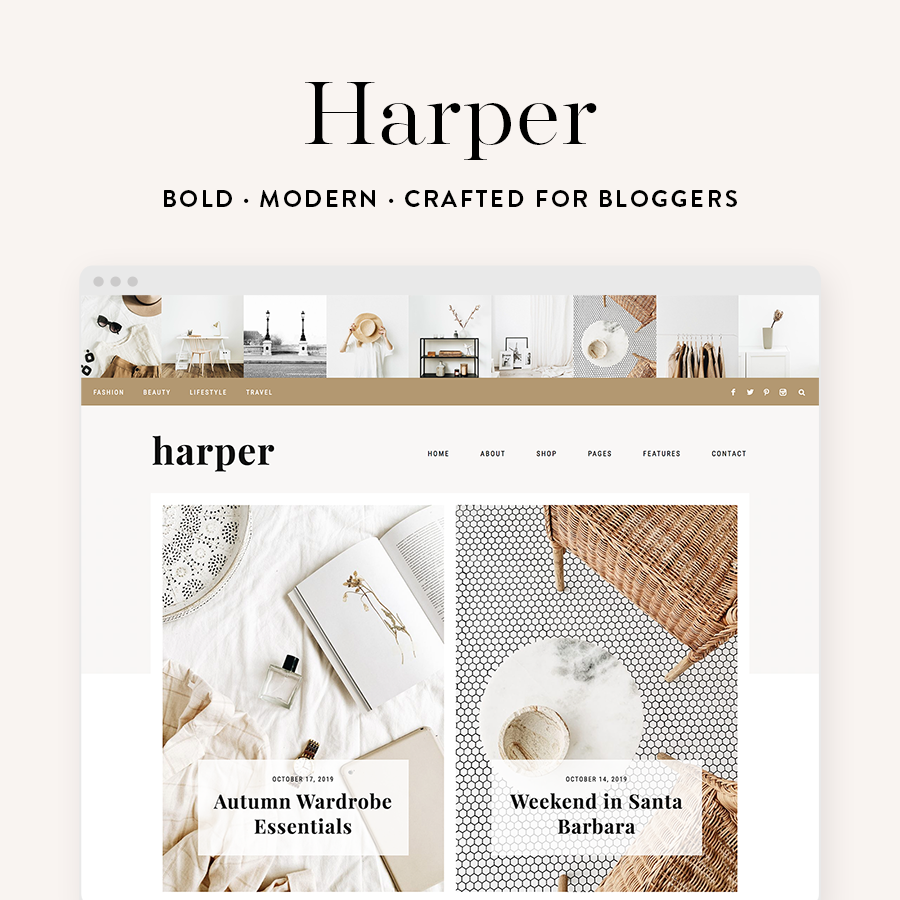
But if you have some bucks, then go for a premium theme you will save time and money if you use a premium theme.
For premium theme, I recommend these ones:
- Bluchic: They have great feminine wordpress themes for female entrepreneurs and bloggers. So if you want that female touch to reflect on your website, then bluchic is your go to place for beautiful themes.
- 17th Avenue: They offer stylish, chic, affordable feminine WordPress themes for business owners, creatives, and bloggers.
HOW TO INSTALL A WORDPRESS THEME
To install a wordpress theme(free). From your wordpress dashboard, click on Appearance >> Themes >> Add New. Type in the name of the theme you want to install in the search box.
Click Install and once your theme is installed, click activate

If you purchased a premium theme, go to your wordpress dashboard, click on Appearance >> Themes >> Add New >> then click the Upload Theme button.
Upload the theme you purchased. After uploading it, activate and install.
And that’s it you now have a beautiful website.
STEP 5. ADD THE NECESSARY PAGES TO YOUR BLOG
There are pages that are necessary that you have on your blog from day 1.
To add pages on your blog, go to wordpress dashboard, click on Pages, >> Add New to create a new page, add the relevant content and then hit publish.
Here are the 3 pages you should create immediately.
About Me : Let your audience know who are you and how you will help them.
Contact Me Page: Here you will add a contact form, so that your readers can contact you.
Privacy Policy: You need to protect your website legally from day 1. When you freshly install wordpress, you will see a privacy policy page, edit it to suit your website by adding your website URL to it and then publish it.
Here are Five Necessary Plugins You should start using from day 1:
WP Forms
Once your blog is up and running, you need a contact form to allow your readers or potential clients to contact you. Whether your a new blogger, it does not matter because there will be someone who will need to contact you. Always remember to treat your blog as a business.
You can easily create a contact form for free using WP Forms, a wordpress contact form plugin.
Follow this step by step guide, on how to create a contact form using WP Forms and create your own form.
Yoast SEO (For Optimizing Your Posts For SEO)
As a blogger your blog posts are written for human and search engines, and you need to start optimizing your posts for search engine so that your readers can easily find you.
Yoast helps you with everything you need for optimizing your blog posts, and it’s also free. So download the Yoast SEO Plugin
MonsterInsights (For Google Analytics)
As a blogger, you need to track your blog traffic, so that you can understand your readers interests, and behavior. And to achieve that you simply create a google analytics account(it’s free) and link it to your blog. Google analytics can be a bit confusing for a beginner, but with MonsterInsights plugin is created solely for you to understand your stats. It displays google analytics directly on your wordpress dashboard in an easy way for you to understand. So after creating your google analytics account, download the MonsterInsights Plugin.
Follow this guide, for how to properly setup google analytics in wordpress
Social Warfare
There are lots of social sharing plugins out but I recommend and also use Social Warfare because its’s simple, easy to setup and effective. Just go to your wordpress dashboard, click on Plugins, >> add new, in the search box, enter the name “social warfare” click install, then activate and then configure using your social accounts username.
UpdraftsPlus For (Back Up)
All sites across the internet have a high risk of getting hacked. Which means there’s a possibility of loosing all your entire site. And to avoid, you need to install and use a reliable plugin.
Updraftsplus is the best plugin that is easy to setup and it’s free. On your wordpress dashboard, go to plugins >> click add new, in the search box, type in updraftplus, then install and activate.
13 Comments on How To Start A Blog And Make Money Blogging